Select Action Dialog Box
When Recover Keys is started, the "Select action" dialog box is displayed. The "Select action" dialog box contains a list of all the allowable actions. This list includes the following options as indicated on the picture below:
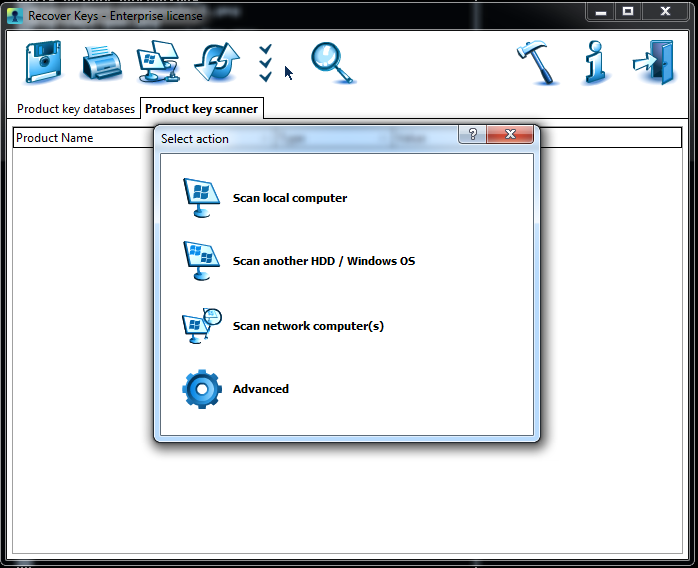
In the Select action dialog box user can click respective button to select an action. Which includes:
- "Scan local computer" action allows to scan whole Windows OS. After Recover Keys finishes scanning local computer, the results will be displayed in the 'Product list' area.
- "Scan another HDD / Windows OS" will scan external Hard Drive, when you have it connected with another Windows OS installed (bootable or non-bootable). More detailed information is described by this article: How to scan another HDD / Windows for product keys?
- "Scan network computer(s)" action allows to combine several actions to scan multiple computers.
- "Advanced" scanning options. You can scan registry (.reg) files, registry hives, Adobe cache.db file and more.
This dialog box starts by default when Recover Keys is launched. At the Recover Keys Options dialog, you can uncheck respective check box if you do not want the "Select action" dialog box shown at program start up. This option dialog can be launched from the Recover Keys Toolbar as well, using (F3) hot key.